HealthRider Treadmill HRTL99510.0 User Manual
Browse online or download User Manual for Treadmills HealthRider Treadmill HRTL99510.0. HealthRider Treadmill HRTL99510.0 User's Manual
- Page / 36
- Table of contents
- TROUBLESHOOTING
- BOOKMARKS
- USERʼS MANUAL 1
- TABLE OF CONTENTS 2
- WARNING DECAL PLACEMENT 2
- IMPORTANT PRECAUTIONS 3
- SAVE THESE INSTRUCTIONS 4
- BEFORE YOU BEGIN 5
- ASSEMBLY 6
- OPERATION AND ADJUSTMENT 15
- DANGER: Improper connection 15
- TROUBLESHOOTING 26
- EXERCISE GUIDELINES 29
- Model No. HRTL99510.0 R0211A 32
- ORDERING REPLACEMENT PARTS 36
- LIMITED WARRANTY 36
Summary of Contents
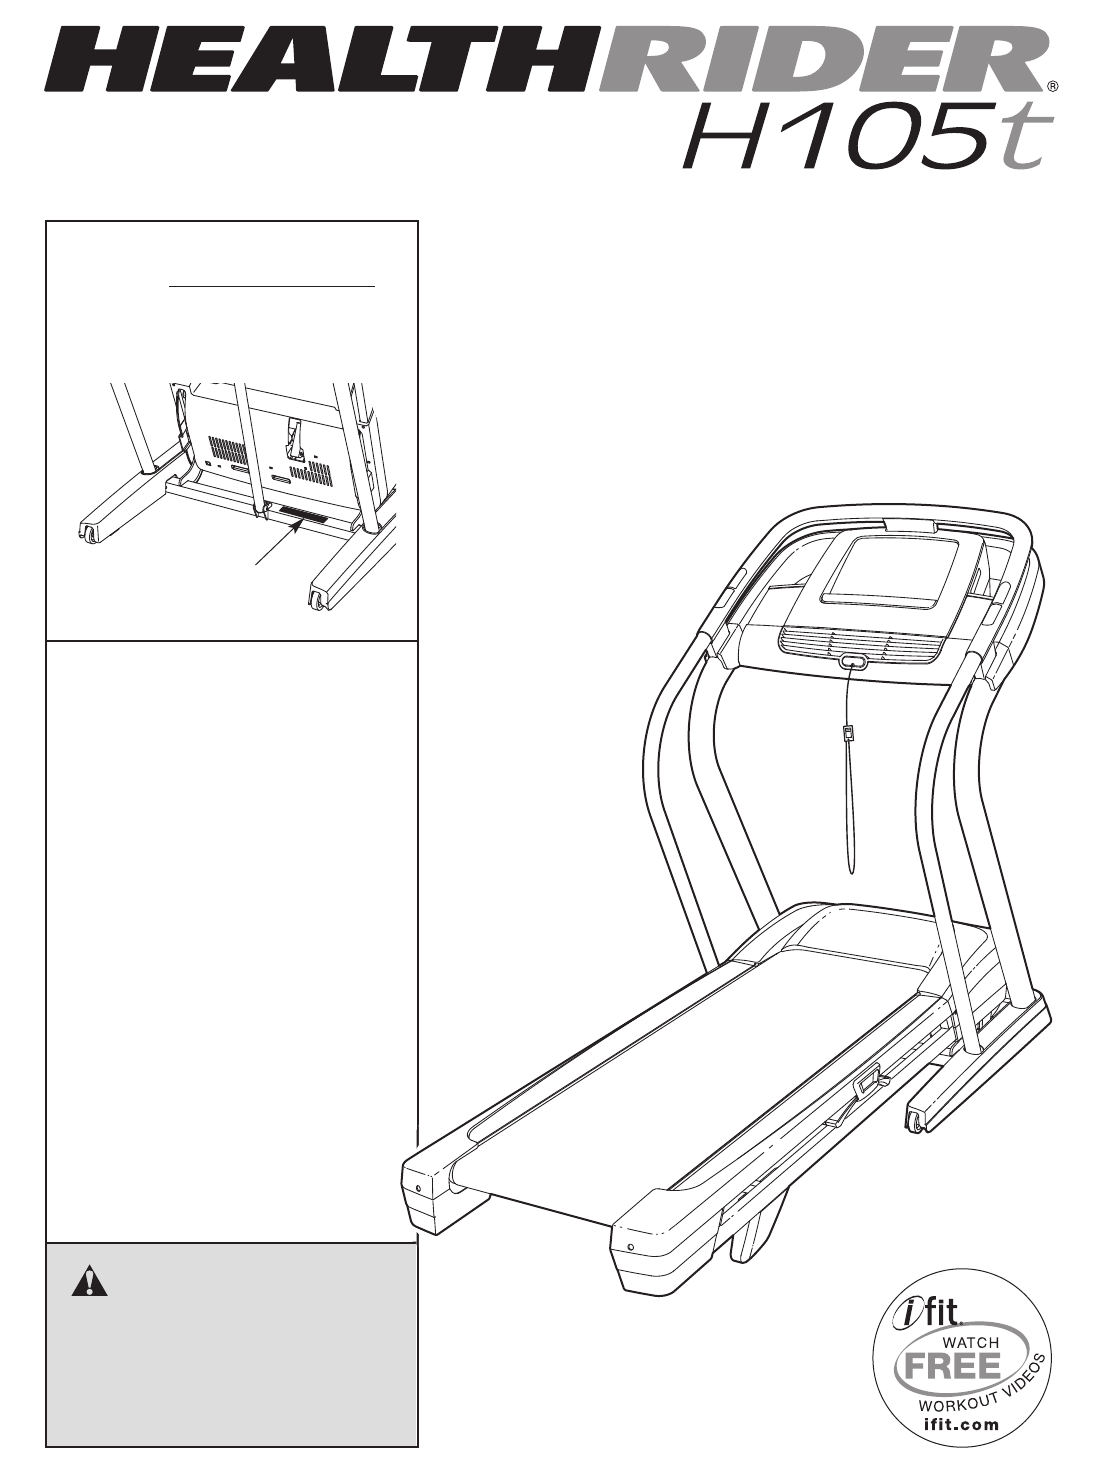
Serial NumberDecalModel No. HRTL99510.0Serial No.Write the serial number in the spaceabove for reference.CAUTIONRead all precautions and instruc-tions
108. Set the console assembly on the brackets onthe Left and Right Uprights (88, not shown). Becareful not to pinch any wires.Attach the console assem
1111. With the help of a second person, hold theLeft and Right Handrails (81, 82) near the Base(91). Slide the lower ends of the Handrails intothe hol
1213. Attach the Left and Right Handrails (81, 82) to theBase (91) with four 3/8" x 2 1/8" Patch Bolts (14)and four 3/8" Star Washers (
1314. Firmly tighten the two 5/16" x 1 1/2" Patch Bolts(15).Then, firmly tighten the sixteen Patch Bolts (5,7, 8, 14) (only one side is show
1418. Make sure that all parts are properly tightened before you use the treadmill. If there are sheets of plasticon the treadmill decals, remove the
15OPERATION AND ADJUSTMENTTHE PRE-LUBRICATED WALKING BELTYour treadmill features a walking belt coated with high-performance lubricant. IMPORTANT: Nev
16FEATURES OF THE CONSOLEThe treadmill console offers an impressive array offeatures designed to make your workouts more effec-tive and enjoyable. Whe
17HOW TO TURN ON THE POWERIMPORTANT: If the treadmill has been exposed tocold temperatures, allow it to warm to room tem-perature before turning on th
184. Change the incline of the treadmill as desired.To change the incline of the treadmill, press theIncline increase or decrease button or one of the
196. Measure your heart rate if desired.Before using the handgrip pulse sensor, removethe sheets of plastic from the metal contacts on thepulse bar. I
TABLE OF CONTENTSWARNING DECAL PLACEMENT . . . . . . . . . . . . . . . . . . . . . . . . . . . . . . . . . . . . . . . . . . . . . . . . . . . . . . .
20HOW TO USE AN ONBOARD WORKOUT1. Insert the key into the console.See HOW TO TURN ON THE POWER on page 17.2. Select an onboard workout.To select an on
21To stop the workout at any time, press the Stopbutton. The time will begin to flash in the display.To resume the workout, press the Start button ort
22Press the iFit Live button to download the nextworkout in your schedule. Press the My Trainerbutton, the My Maps button, the World Tour button,or th
23THE INFORMATION MODEThe console features an information mode that keepstrack of treadmill information and allows you to person-alize console setting
24HOW TO USE THE STEREO SOUND SYSTEMTo play music or audio books through the consoleʼsstereo speakers, you must connect your MP3 player,CD player, or
25HOW TO FOLD THE TREADMILLTo avoid damaging the treadmill, adjust the inclineto the lowest position before you fold the treadmill.Then, remove the ke
26Most treadmill problems can be solved by followingthe simple steps below. Find the symptom thatapplies, and follow the steps listed. If further assi
27Locate the Reed Switch (55) and the Magnet (54)on the left side of the Pulley (53). Turn the Pulleyuntil the Magnet is aligned with the Reed Switch.
28SYMPTOM: The walking belt is off-center or slipswhen walked ona. If the walking belt is off-center, first remove thekey and UNPLUG THE POWER CORD. I
29These guidelines will help you to plan your exerciseprogram. For detailed exercise information, obtain areputable book or consult your physician. Re
31. Before beginning any exercise program, con-sult your physician. This is especially impor-tant for persons over age 35 or persons withpre-existing
30PART LIST Model No. HRTL99510.0 R0211ATo locate the parts listed below, see the EXPLODED DRAWING near the end of this manual.Key No.Qty. Description
31Key No. Qty. Description Key No. Qty. Description101 4 Console Clamp102 1 Frame Ground Wire103 1 Console Base104 1 Left Tray105 1 Right Tray106 2 Ca
204924191010561927283032372535532754805255492025312586059622224039214345444748611138353237411223231501122131246314212723132373523123164353237222421276
107475722732102271702722762362222234676569163468186916333326263636366566236202020108EXPLODED DRAWING B Model No. HRTL99510.0 R0211A33
93923495295229523475771734294173493952917138771090778841351148788898583713879135114828598186911112112131413141534EXPLODED DRAWING C Model No. HRTL9951
96989711001012929991012910292211105102122211042210610310110135EXPLODED DRAWING D Model No. HRTL99510.0 R0211A
Part No. 305552 R0211A Printed in China © 2011 ICON IP, Inc.ORDERING REPLACEMENT PARTSTo order replacement parts, please see the front cover of this m
420. Never leave the treadmill unattended while itis running. Always remove the key, unplugthe power cord, and press the power switchinto the off posi
5Thank you for selecting the revolutionary HealthRider®H105T treadmill. The H105T treadmill offers an im-pressive selection of features designed to ma
6ASSEMBLYTo hire an authorized service technician to assemble the treadmill, call 1-800-445-2480.Assembly requires two persons. Set the treadmill in a
73. Identify the Left Upright (88), which is markedwith a “Left” sticker. Have a second person holdthe Left Upright near the Base (91).See the inset d
85. Identify the Left and Right Base Covers (83, 84).Slide the Left Base Cover onto the Left Upright(88). Slide the Right Base Cover onto the RightUpr
96. Set the console assembly (A) face-down on asoft surface to avoid scratching the console.Attach the Left and Right Trays (104, 105) to theconsole a
Related products and manuals for Treadmills HealthRider Treadmill HRTL99510.0
 (22 pages)
(19 pages)
(22 pages)
(26 pages)
(28 pages)
(34 pages)
(28 pages)
(32 pages)
(30 pages)
(34 pages)
(34 pages)
(30 pages)
(34 pages)
(22 pages)
(19 pages)
(22 pages)
(26 pages)
(28 pages)
(34 pages)
(28 pages)
(32 pages)
(30 pages)
(34 pages)
(34 pages)
(30 pages)
(34 pages)
© 2020, manymanuals.com. All rights reserved. | 3.030 s |
 Manymanuals.com
 Manymanuals.de
 Manymanuals.fr
 Manymanuals.it
 Manymanuals.pl
 Manymanuals.cz
 Manymanuals.es
 Manymanuals-pt.com
Comments to this Manuals