HealthRider Treadmill H500i User Manual
Browse online or download User Manual for Treadmills HealthRider Treadmill H500i. HealthRider Treadmill H500i User's Manual
- Page / 28
- Table of contents
- TROUBLESHOOTING
- BOOKMARKS
- USER'S MANUAL 1
- TABLE OF CONTENTS 2
- WARNING: T 3
- IMPORTANT PRECAUTIONS 3
- DANGER: A 4
- SAVE THESE INSTRUCTIONS 4
- BEFORE YOU BEGIN 5
- ASSEMBLY 6
- OPERATION AND ADJUSTMENT 10
- DANGER: Improper connection 10
- ETPF59806 11
- PFTL59806 11
- TROUBLESHOOTING 19
- CONDITIONING GUIDELINES 21
- ORDERING REPLACEMENT PARTS 23
- LIMITED WARRANTY 28
Summary of Contents
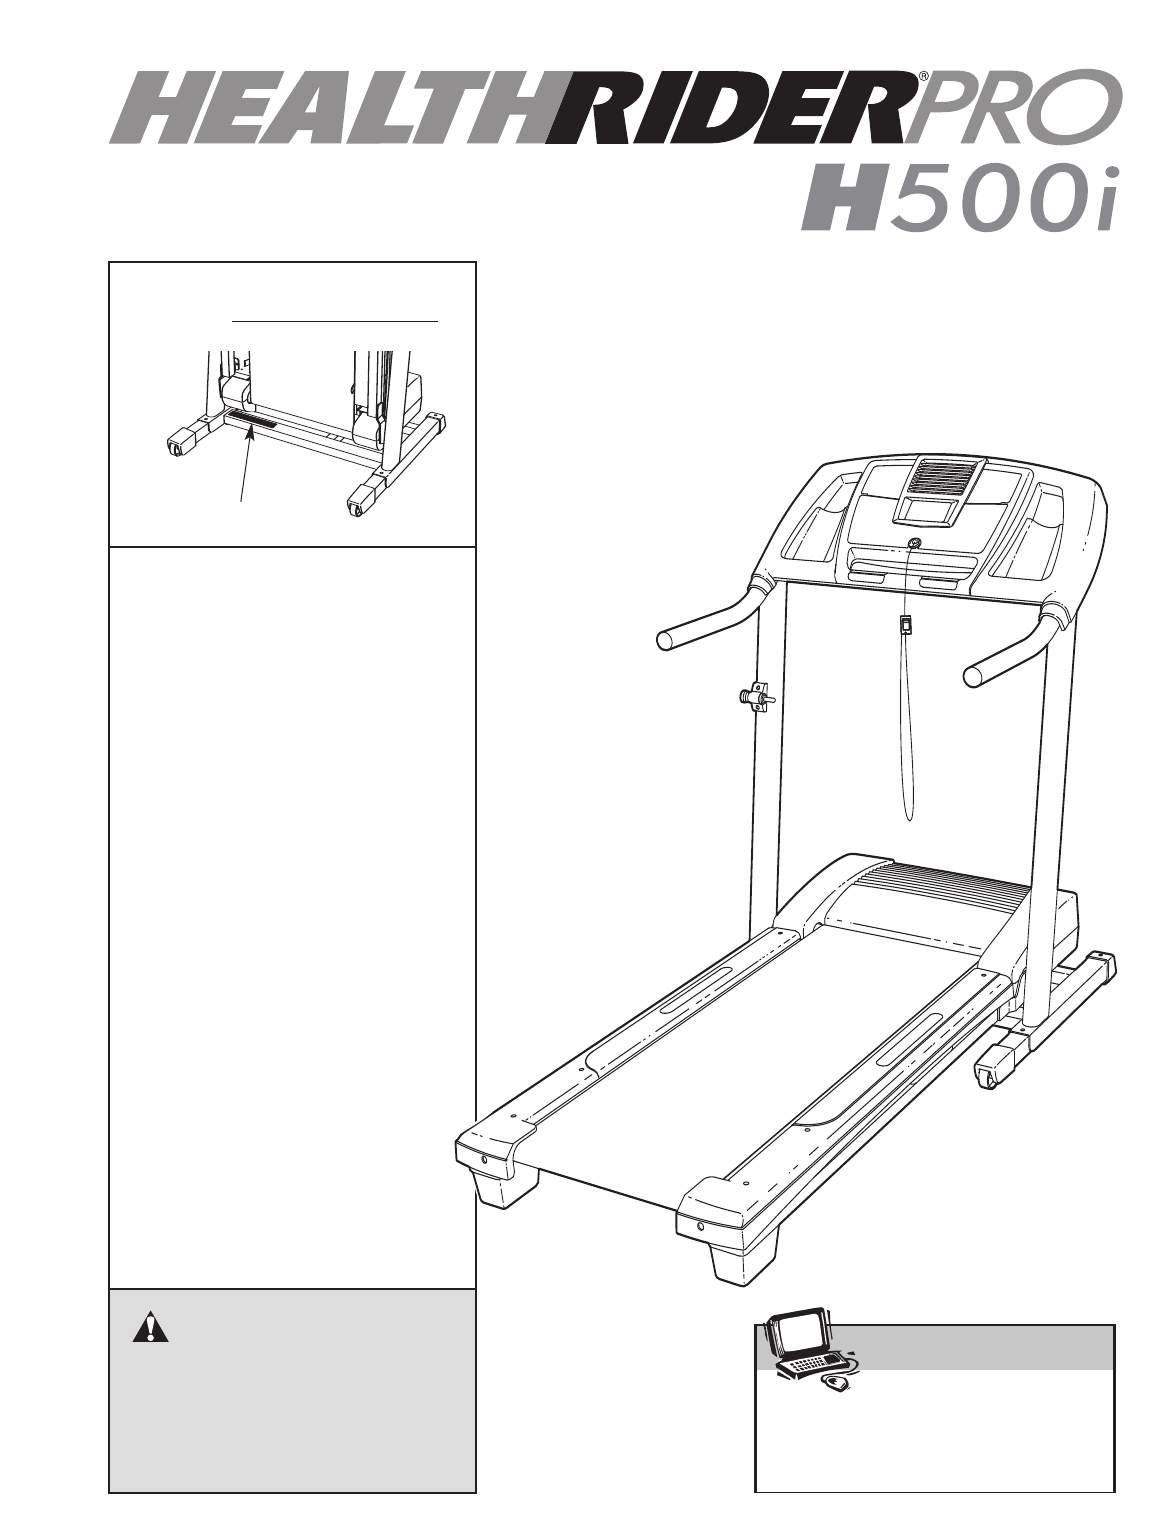
Serial Number DecalModel No. HRTL71706.0 Serial No. CAUTIONRead all precautions and instruc-tions in this manual before usingthis equipment. Save thi
10OPERATION AND ADJUSTMENTTHE PRE-LUBRICATED WALKING BELTYour treadmill features a walking belt coated with high-performance lubricant. IMPORTANT: Nev
11ETPF59806PFTL59806FEATURES OF THE CONSOLE The revolutionary treadmill console offers a selectionof features designed to make your workouts moreeffec
12HOW TO TURN ON THE POWERPlug in the power cord (see page 10). Locate the reset/offcircuit breaker nearthe power cord. Makesure that the circuitbrea
13The left side of the dis-play will show theelapsed time, the dis-tance that you havewalked or run, and theincline level of the tread-mill. Note: Whe
14HOW TO USE A CROSS TRAINER PROGRAMInsert the key into the console.See HOW TO TURN ON THE POWER on page12. Select one of the six cross trainer progra
Perform the first strength exercise whenprompted. When thefirst strengthexercisesegment be-gins (onlyone indica-tor will flashin the Current Segment c
16THE INFORMATION MODE/DEMO MODEThe console features an information mode that keepstrack of treadmill usage information. The informationmode also allo
17HOW TO FOLD AND MOVE THE TREADMILLHOW TO FOLD THE TREADMILL FOR STORAGEBefore folding the treadmill, adjust the incline to the lowest position. If t
18HOW TO LOWER THE TREADMILL FOR USE1. Hold the upper end of the treadmill with your right hand. Pullthe latch knob to the left and hold it. Pivot the
19TROUBLESHOOTINGMost treadmill problems can be solved by following the steps below. Find the symptom that applies, andfollow the steps listed. If you
TABLE OF CONTENTSIMPORTANT PRECAUTIONS . . . . . . . . . . . . . . . . . . . . . . . . . . . . . . . . . . . . . . . . . . . . . . . . . . . . . . .
Locate the Reed Switch (63) and the Magnet (46) onthe left side of the Pulley (47). Turn the Pulley until theMagnet is aligned with the Reed Switch. M
21CONDITIONING GUIDELINESThe following guidelines will help you to plan your ex-ercise program. For more detailed exercise informa-tion, obtain a repu
22PART LIST—Model No. HRTL71706.0 R0408AKey No. Qty. Description Key No. Qty. Description1 2 Foot Rail Decal22 3/4" Screw3 25 Screw4 1 Reset/Off
23Key No. Qty. Description Key No. Qty. Description93 1 Optic Disk94 1 Photo Switch Nut95 4 Hood Clip96 1 Photo Switch97 1 Photo Switch Bolt98 2 Dumbb
1691211151046471049485853295231712155511697116670705555555555951295354322779090993919124EXPLODED DRAWING A—Model No. HRTL71706.0 R0408A
63597106105413338394066282832323618872522273023261924222523304277334134345101509595953333104613310610625EXPLODED DRAWING B—Model No. HRTL71706.0 R0408
84738283828368687232868856103836065653132448642120323380678981788067898178443132928103928877860626233331414864883939466969733333837710233573326EXPLODE
37679753374713485333983735353331003327 EXPLODED DRAWING D—Model No. HRTL71706.0 R0408A
Part No. 245010 R0408A Printed in USA © 2008 ICON IP, Inc.LIMITED WARRANTYWHAT IS COVERED—The entire HealthRider H500i treadmill (“Product”) is warran
1. It is the responsibility of the owner to ensurethat all users of this treadmill are adequatelyinformed of all warnings and precautions.2. Use the t
450%The decals shown here have been placed on the treadmill. Ifa decal is missing, or if it is illegible, call the toll-free tele-phone number on the
5Thank you for selecting the HEALTHRIDER®PROH500i treadmill. The PRO H500i treadmill offers an im-pressive array of features designed to make yourwork
1. Make sure that the power cord is unplugged.With the help of a second person, carefully tipthe treadmill onto its left side as shown. Partiallyfold
4. With the help of a second person, carefully raisethe Uprights (84) to a vertical position. Have the second person hold the Handrail (20)near the Up
7.Set the console assembly on the Handrail (20).Be careful to avoid pinching any of the wires.Make sure that the ground wire (see step 5)and the wire
1. Remove the key from the console and unplugthe power cord.Remove the Screw (3) and the Access Door (76)from the back of the Console Base (85). 2. Co
Related products and manuals for Treadmills HealthRider Treadmill H500i
 (22 pages)
(19 pages)
(22 pages)
(26 pages)
(28 pages)
(34 pages)
(28 pages)
(32 pages)
(30 pages)
(34 pages)
(34 pages)
(30 pages)
(34 pages)
(22 pages)
(19 pages)
(22 pages)
(26 pages)
(28 pages)
(34 pages)
(28 pages)
(32 pages)
(30 pages)
(34 pages)
(34 pages)
(30 pages)
(34 pages)
© 2020, manymanuals.com. All rights reserved. | 0.492 s |
 Manymanuals.com
 Manymanuals.de
 Manymanuals.fr
 Manymanuals.it
 Manymanuals.pl
 Manymanuals.cz
 Manymanuals.es
 Manymanuals-pt.com
Comments to this Manuals