HealthRider R65 HRTL71830 User Manual
Browse online or download User Manual for Treadmills HealthRider R65 HRTL71830. HealthRider R65 HRTL71830 User's Manual
- Page / 34
- Table of contents
- TROUBLESHOOTING
- BOOKMARKS
Summary of Contents
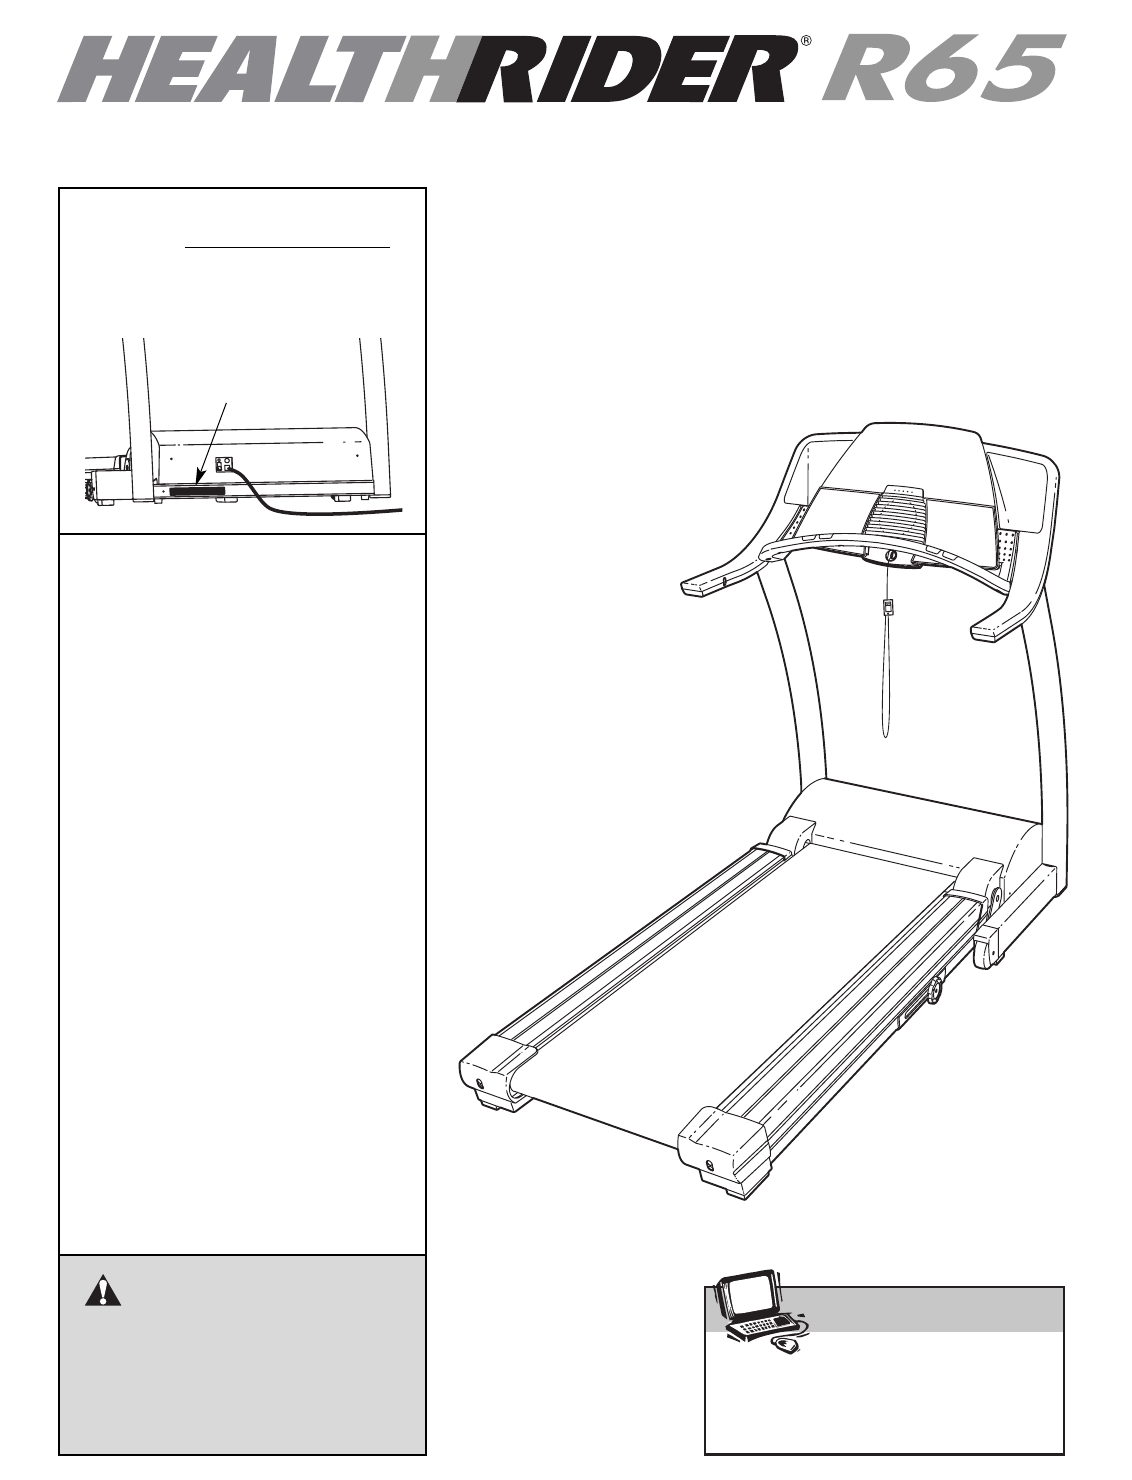
Model No. HRTL71830 Serial No. CAUTIONRead all precautions and instruc-tions in this manual before usingthis equipment. Save this man-ual for future r
10HOW TO TURN ON THE POWERPlug in the power cord (see page 8). Locate the reset/offcircuit breaker on thetreadmill near the powercord. Move the circu
11Distance/Incline dis-play—This displayshows the distance thatyou have walked or runand the incline level ofthe treadmill. The displaywill change fro
12HOW TO USE PERSONAL TRAINER PROGRAMSInsert the key into the console.See HOW TO TURN ON THE POWER on page10. Select one of the personal trainer progr
13To stop the program at any time, press the Stopbutton. The time will begin to flash in thePace/Time display. To restart the program, pressthe Start
14HOW TO USE HEART RATE PROGRAMSPut on the optional chest pulse sensor.You must wear the optional chest pulse sensor(see page 23) to use a heart rate
15Each heart rate program is divided into several timesegments of different lengths. One target heart rateis programmed for each segment. Note: If the
16HOW TO CREATE CUSTOM PROGRAMSInsert the key into the console.See HOW TO TURN ON THE POWER on page10. Select one of the custom programs.To select a c
17HOW TO USE CUSTOM PROGRAMSInsert the key into the console.See HOW TO TURN ON THE POWER on page 10. Select one of the custom programs.To select a cus
18HOW TO CONNECT THE TREADMILL TO YOUR CD PLAYER, VCR, OR COMPUTER To use iFIT.com CDs, the treadmill must be con-nected to your portable CD player, p
19HOW TO CONNECT YOUR HOME STEREONote: If your stereo has an unused LINE OUT jack,see instruction A below. If the LINE OUT jack isbeing used, see inst
2TABLE OF CONTENTSIMPORTANT PRECAUTIONS . . . . . . . . . . . . . . . . . . . . . . . . . . . . . . . . . . . . . . . . . . . . . . . . . . . . . . .
20HOW TO CONNECT YOUR VCRNote: If your VCR has an unused AUDIO OUT jack,see instruction A below. If the AUDIO OUT jack isbeing used, see instruction B
21If the speed or incline settings are too high or toolow, you can manually override the settings bypressing the Speed or Incline buttons on the con-s
22HOW TO USE PROGRAMS DIRECTLY FROM OUR WEB SITEOur Web site at www.iFIT.com allows you to accessprograms directly from the internet. Additi
23THE INFORMATION MODE/DEMO MODEThe console features an information mode that keepstrack of the total number of hours that the treadmill hasbeen opera
24HOW TO FOLD AND MOVE THE TREADMILLHOW TO FOLD THE TREADMILL FOR STORAGEBefore folding the treadmill, adjust the incline to the lowest position. If t
25HOW TO LOWER THE TREADMILL FOR USE1. Hold the treadmill frame firmly with your left hand. Pullthe latch knob to the right. Pivot the treadmill down
26PROBLEM SOLUTIONa. Make sure that the power cord is plugged into a surge suppressor, and that thesurge suppressor is plugged into a properly grounde
27PROBLEM SOLUTIONa. If the walking belt is off-center, first re-move the key and UNPLUG THE POWERCORD. If the walking belt has shifted tothe left, us
28The following guidelines will help you to plan your ex-ercise program. For more detailed exercise informa-tion, obtain a reputable book or consult y
29SUGGESTED STRETCHESThe correct form for several basic stretches is shown at the right. Move slowly as you stretch—never bounce.1. Toe Touch StretchS
3WARNING: To reduce the risk of burns, fire, electric shock, or injury to persons, read thefollowing important precautions and information before oper
To locate the parts listed below, refer to the EXPLODED DRAWING attached in the center of this manual.30PART LIST—Model No. HRTL71830 R0903A1 2 Foot R
101 1 Pulse Wire102 1 Power Cord103 1 Power Cord Grommet104 2 Warning Decal105 2 Spring Plate106 1 Jack107 1 iFIT.com Audio Cable108 2 Rear Roller Sta
10512810512813012812912312012912812013126103102707056910291514131010033443896018222417127441632291213229133191029127576642426684418484535259*631096411
801411401428140401148240138139404040404013540404011740404040404040671331341331344040406969404013640403940113404077789843104104731377787313984386139112
Part No. 201132 R0903A Printed in USA © 2003 ICON Health & Fitness, Inc.HOW TO ORDER REPLACEMENT PARTSTo order replacement parts, call our Custo
20. When using iFIT.com CDs and videos, anelectronic “chirping” sound will alert youwhen the speed and/or incline of the treadmillis about to change.
5Congratulations for purchasing the HealthRider®R65treadmill. The R65 treadmill offers an impressive arrayof features to help you achieve your fitness
ASSEMBLYAssembly requires two persons. Place the treadmill in a cleared area and remove all packing materials. Do not dispose of the packing materials
7685CollarSpring14355Knob1323SmallHoles3. With the help of a second person, raise the treadmillFrame (55). Hold the Latch Housing (68) and the LatchHo
8THE PERFORMANT LUBETMWALKING BELTYour treadmill features a walking belt coated withPERFORMANT LUBETM, a high-performance lubricant.IMPORTANT: Never a
9FEATURES OF THE CONSOLE The treadmill console offers an impressive array of features designed to help you get the most from yourworkouts.When the man
Related products and manuals for Treadmills HealthRider R65 HRTL71830
 (19 pages)
(22 pages)
(26 pages)
(28 pages)
(34 pages)
(28 pages)
(32 pages)
(30 pages)
(34 pages)
(34 pages)
(30 pages)
(34 pages)
(22 pages)
(23 pages)
(19 pages)
(22 pages)
(26 pages)
(28 pages)
(34 pages)
(28 pages)
(32 pages)
(30 pages)
(34 pages)
(34 pages)
(30 pages)
(34 pages)
(22 pages)
(23 pages)
© 2020, manymanuals.com. All rights reserved. | 1.478 s |
 Manymanuals.com
 Manymanuals.de
 Manymanuals.fr
 Manymanuals.it
 Manymanuals.pl
 Manymanuals.cz
 Manymanuals.es
 Manymanuals-pt.com
Comments to this Manuals